If you’re dealing with lower back pain, incorporating specific yoga poses into your routine could make a significant difference. You might find that gentle stretches like Child’s Pose and Forward Bend not only ease discomfort but also enhance your overall flexibility. Poses such as Cat-Cow and Downward Facing Dog can strengthen your spine, while Sphinx and Bridge Pose focus on alignment and muscle engagement. Curious about how the Supine Spinal Twist can help you unwind? Understanding each pose’s unique benefits could lead to a more effective practice tailored to your needs.
Key Takeaways
- Child’s Pose provides a gentle stretch for relaxation and stress reduction in the lower back.
- The Cat-Cow Stretch enhances spinal flexibility and releases tension in the lower back.
- Downward Facing Dog strengthens the entire body while relieving lower back tension.
- Bridge Pose strengthens back and core muscles while providing a gentle stretch.
- Supine Spinal Twist promotes relaxation and gently stretches the lower back for relief.
Child’s Pose
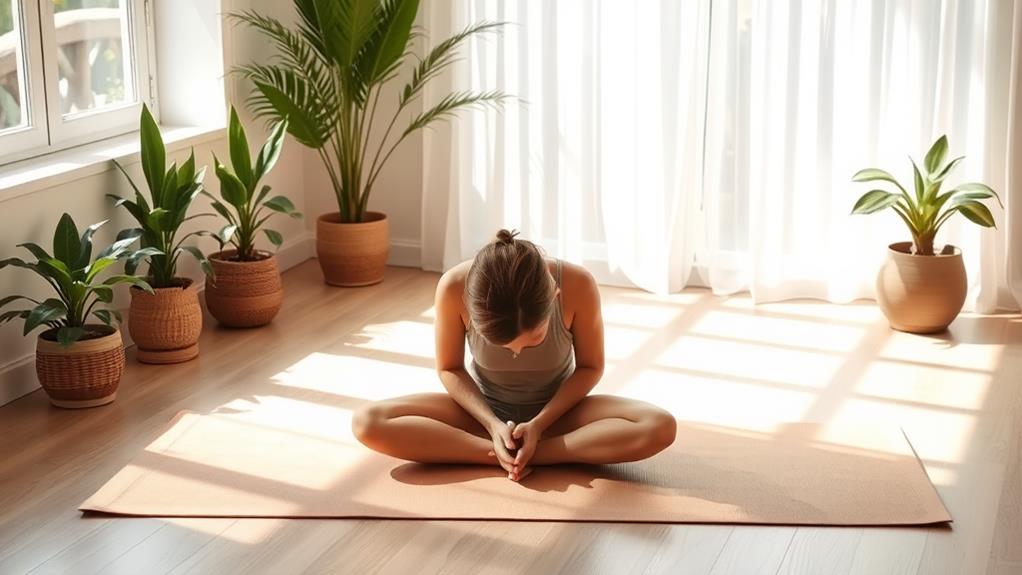
Child’s Pose is a gentle stretch that can provide relief for lower back pain. It’s easy to do, and you don’t need any fancy equipment. Just find a comfortable spot on the floor, like a yoga mat or a soft carpet.
Start by kneeling on the mat, then sit back on your heels. Reach your arms forward and lower your chest towards the ground. This position allows your spine to stretch, which can help ease tightness in your back.
As you hold this pose, focus on your breathing. Take slow, deep breaths in and out. With each exhale, imagine releasing tension from your back.
If you want to feel even more comfortable, you can place a pillow or blanket under your chest for extra support.
You might feel a gentle stretch in your back and hips, and that’s a good thing! Staying in Child’s Pose for a few minutes can help you relax and let go of stress.
Remember, it’s important to listen to your body. If something doesn’t feel right, adjust your position or come out of the pose.
Enjoy the soothing benefits of Child’s Pose, and let it be a part of your routine!
Cat-Cow Stretch
After finding relief in Child’s Pose, you can further ease lower back pain with the Cat-Cow Stretch. This stretch helps loosen your spine while making your back feel more flexible. It’s super easy to do, and you can do it right on your mat!
Start by getting on your hands and knees in a tabletop position. Make sure your wrists are directly under your shoulders and your knees are under your hips.
As you inhale, arch your back, lift your head, and let your belly drop toward the floor. This is the “Cow” position. Hold this for a moment, feeling the stretch.
Then, as you exhale, round your back up to the ceiling, tucking your chin to your chest. This is the “Cat” position.
Repeat this flow several times, moving smoothly between Cat and Cow. You’ll feel your lower back release tension with every breath.
The Cat-Cow Stretch not only helps your back but also improves your posture. So, give it a try!
Regular practice can bring you more comfort and flexibility, keeping you feeling great all day long.
Downward Facing Dog
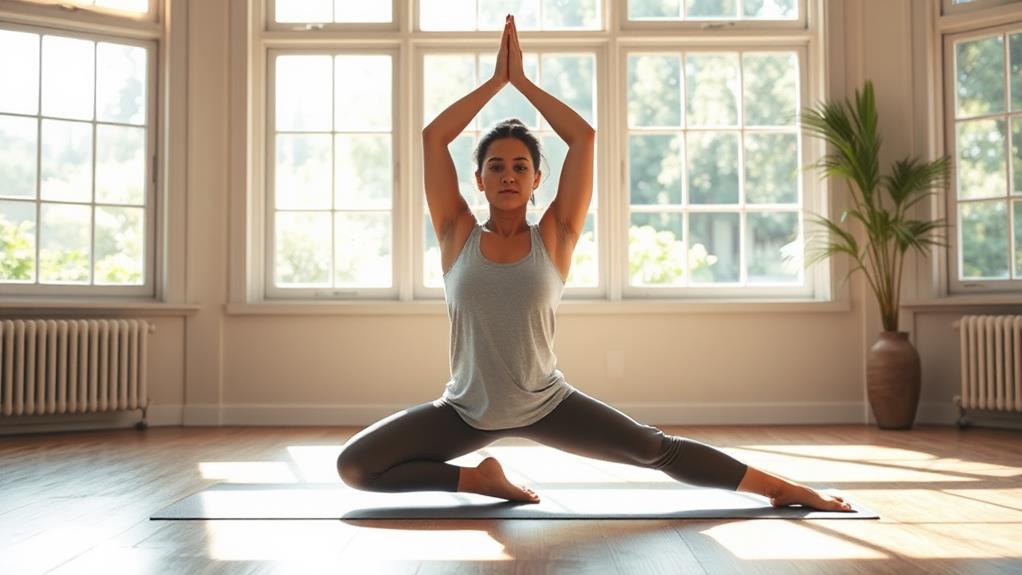
Downward Facing Dog is a fantastic pose for relieving lower back pain and stretching the entire body. When you get into this position, you form a triangle shape with your body, which helps your back muscles lengthen and release tension.
Start by kneeling on the floor, then tuck your toes under and lift your hips up, straightening your legs and arms.
Keep your hands shoulder-width apart and your feet hip-width apart. Try to press your heels down toward the ground. If they don’t touch, that’s okay! Just focus on feeling the stretch in your back, legs, and even your arms.
Take a deep breath in through your nose and let it out slowly through your mouth.
You can hold this pose for a few breaths, feeling the stretch grow deeper with each exhale. If you need to, bend your knees slightly to keep your back straight.
This pose not only helps your lower back but also strengthens your arms and legs. Remember, it’s all about finding what feels good for you.
Forward Bend
Forward Bend can be a fantastic way to ease tension in your lower back while stretching your legs and spine.
When you practice this pose, it’s important to focus on proper alignment to get the most benefits and stay comfortable.
Don’t worry if you need to make some adjustments; there are plenty of modifications that can help you find the perfect fit for your body!
Benefits of Forward Bend
The Forward Bend pose offers a gentle stretch that can considerably alleviate lower back pain. When you bend forward, you’re giving your spine a nice, relaxing stretch. This helps release tension in your back and can make you feel more at ease. Plus, it encourages better blood flow, which is essential for healing.
You don’t need to be a yoga expert to enjoy the benefits of this pose. Just stand up tall, bend at your hips, and let your upper body hang down. You might notice your hamstrings and calves stretching too, which is great for overall flexibility. Don’t worry if you can’t touch your toes right away; just go as far as feels comfortable for you.
Practicing Forward Bend regularly can also help improve your posture. When you stretch your back muscles, they become stronger and more balanced, helping you stand taller. This can reduce strain on your lower back in everyday activities.
Proper Alignment Techniques
When practicing the Forward Bend pose, maintaining proper alignment is essential for maximizing its benefits and preventing injury. Start by standing tall with your feet hip-width apart. Keep your knees slightly bent to avoid locking them, which can strain your lower back. As you hinge at your hips, imagine you’re drawing your chest forward, keeping your spine long.
Reach your arms toward the ground or grab your elbows, letting your head hang heavy. This helps release tension in your neck and shoulders. Remember to breathe deeply, allowing your body to relax into the pose.
You want to feel a gentle stretch in your hamstrings and lower back, but not pain. If you do, ease up! Pay attention to your core muscles; they should be engaged to support your back.
As you hold the pose, keep your weight balanced evenly on your feet. Don’t let your heels lift off the ground.
When you’re ready to come out of the pose, slowly roll up one vertebra at a time, bringing your head up last. You’ve done an amazing job! Keep practicing to enhance your yoga journey.
Modifications for Comfort
Modifications can make the Forward Bend pose more accessible and comfortable for everyone.
If you find that bending forward is challenging, try using a yoga block. Place the block under your hands to bring the ground closer to you. This can help reduce strain on your lower back while still enjoying the stretch.
Another option is to bend your knees slightly. This simple adjustment lessens the pressure on your back and lets you relax into the pose.
You can also try placing a cushion or folded blanket under your feet. This gives you extra support and helps you feel more stable as you bend forward.
If you prefer sitting, consider a seated forward bend. Sit with your legs extended in front of you, and gently lean forward, reaching for your feet. This position can be easier on your back while still providing a nice stretch.
Sphinx Pose
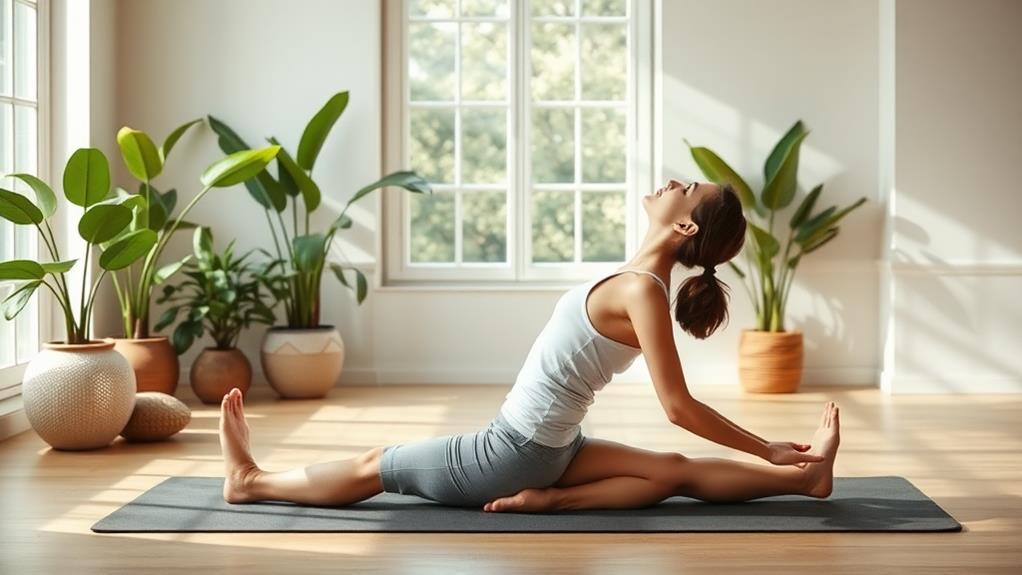
Let’s explore the Sphinx Pose, a great option for easing lower back pain.
You’ll not only enjoy its benefits but also find it easy to follow with simple step-by-step instructions.
Plus, there are modifications available, so everyone, including beginners, can give it a try!
Benefits for Lower Back
Finding relief from lower back pain often requires a thoughtful approach, and practicing Sphinx Pose can be a powerful ally in this journey. This gentle pose helps to strengthen your lower back muscles while promoting flexibility. By lying on your stomach and lifting your chest, you stretch the spine and open up the front of your body, which can really feel great.
One of the main benefits of Sphinx Pose is that it encourages proper alignment of your spine. When you practice it regularly, you may notice improved posture, which can reduce strain on your back.
Plus, this pose can help relieve tension in your lower back, making it a wonderful way to unwind after a long day.
Another great aspect of Sphinx Pose is that it encourages deep breathing. As you focus on your breath, you’ll not only relax your mind but also help to release tightness in your back.
With consistent practice, you might find that your back feels stronger and less painful over time. So, grab your mat and give Sphinx Pose a try—your lower back will thank you!
Step-by-Step Instructions
To practice Sphinx Pose effectively, start by lying on your stomach with your legs extended behind you, ensuring your feet are hip-width apart and the tops of your feet are pressing into the mat.
Place your elbows under your shoulders, with your forearms flat on the floor. As you take a deep breath in, gently lift your chest off the mat, using your back muscles. Keep your gaze slightly forward, as this helps maintain good alignment in your neck.
Engage your abdominal muscles to support your lower back. You should feel a gentle stretch in your lower back and across your chest. Hold this pose for 15 to 30 seconds, breathing steadily. If you start to feel any discomfort, ease off a bit and relax your shoulders away from your ears.
When you’re ready, slowly lower your chest back down to the mat. Take a moment to rest before moving into your next pose.
This stretch can be really soothing for your lower back, so enjoy the benefits! Remember, practicing regularly can help you feel even better over time. Happy stretching!
Modifications for Beginners
If you’re new to Sphinx Pose or find it challenging, several modifications can help make the pose more accessible.
First, try placing a folded blanket or a yoga mat under your hips. This added support can relieve pressure on your lower back and make the pose feel more comfortable.
You can also keep your elbows farther away from your body. This will give you a gentler stretch and help you avoid straining.
If you’re still feeling discomfort, consider lowering your chest further to the ground. This adjustment will reduce the intensity of the backbend, allowing you to ease into the pose.
You can also practice Sphinx Pose with your head resting on a block or cushion. This way, you won’t have to push yourself too hard, and you can still enjoy the benefits.
Bridge Pose
Bridge Pose is an effective yoga position that can significantly relieve lower back pain. It strengthens your back muscles and stretches your hips, which helps improve flexibility and support your spine.
To begin, lie on your back with your knees bent and feet flat on the floor, hip-width apart. Make sure your arms rest at your sides, palms down.
As you inhale, press your feet into the ground and lift your hips towards the ceiling. Keep your shoulders relaxed, and don’t forget to engage your core. You can hold this pose for about 30 seconds, breathing steadily. Feel free to hold onto your ankles or interlace your fingers under your back for extra support.
As you practice, focus on how your body feels. You may notice a gentle stretch across your chest and spine. When you’re ready to come down, slowly lower your hips back to the mat. Take a moment to relax and feel the benefits.
Incorporating Bridge Pose into your routine can help ease tension in your lower back, making it a fantastic addition to your yoga practice! So, give it a try, and enjoy the relief it brings!
Supine Spinal Twist
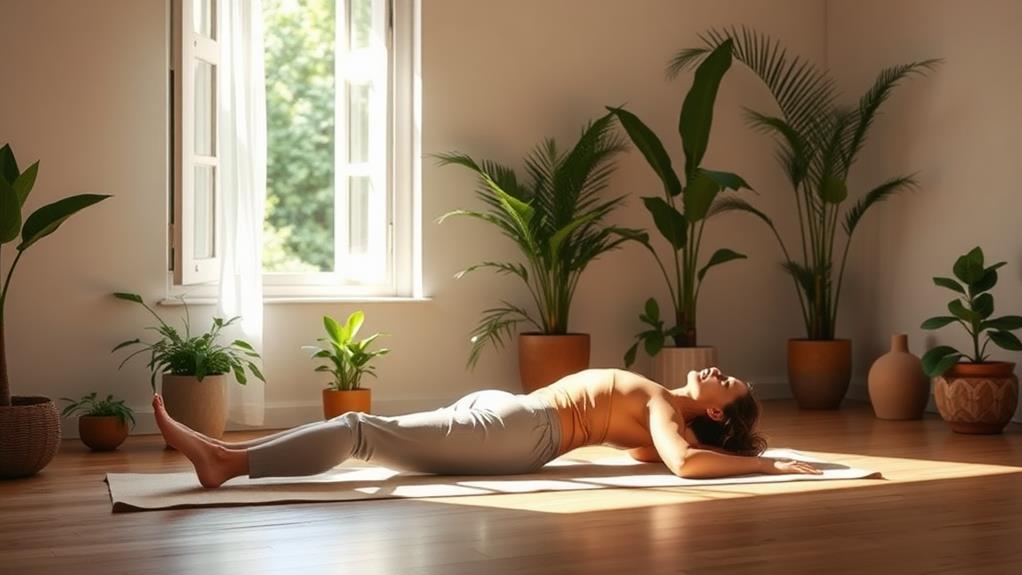
After practicing Bridge Pose, you can enhance your lower back relief with the Supine Spinal Twist. This gentle twist helps loosen up your spine, allowing you to release tension and feel more relaxed.
To begin, lie on your back with your knees bent and your feet flat on the floor. Take a deep breath in, and as you exhale, drop your knees to one side. Make sure your shoulders stay pressed into the mat. You can extend your arms out to the sides, forming a T-shape with your body.
Stay in this position for about 30 seconds, breathing deeply. You should feel a nice stretch in your lower back and hips. Then, slowly bring your knees back to the center and repeat the twist on the other side. Remember to keep your movements gentle and controlled.
This pose not only stretches your back but also calms your mind. It’s a perfect way to wind down after a long day.


